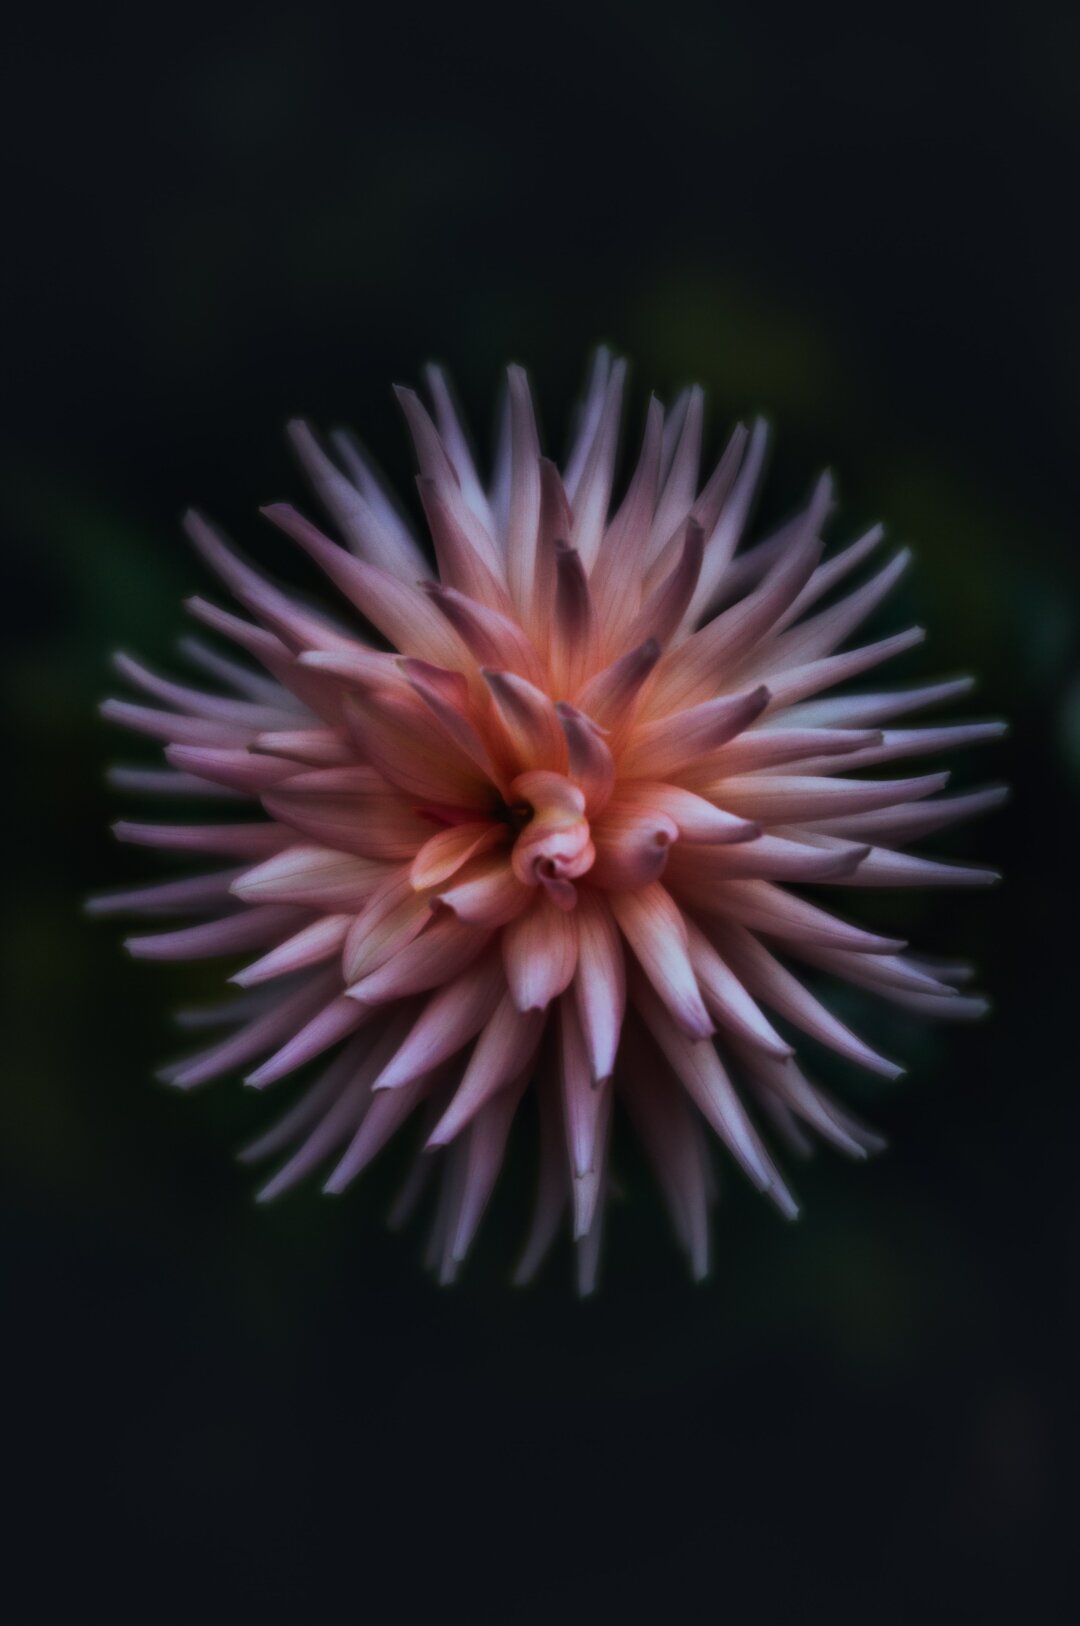
Macro photography is a fascinating and rewarding branch of photography that allows you to capture intricate details of the world that often go unnoticed by the naked eye. Today, we will break down the basics of macro photography, from equipment and techniques to lighting and composition, to help you embark on your journey into this captivating realm of photography.
Before diving into the technical aspects, let’s clarify what macro photography is. Macro photography is all about photographing subjects at a very close range, making small objects or tiny details appear much larger than they are.
Necessary Equipment
Macro Lens: A dedicated macro lens is the most crucial piece of equipment for macro photography. These lenses are designed to provide 1:1 magnification, meaning that the subject appears life-sized on the camera’s sensor. Check out this piece here on camera settings and the type of lens that can help you with macro shoots.
Tripod: Macro photography often involves very close shooting, which can make your camera susceptible to movement. A sturdy tripod will help you maintain sharpness in your images.
Good Lighting: Adequate lighting is essential for macro photography. You can use natural light, flash, or continuous lighting depending on your preference. Photographer, Jason D. Little, shares his knowledge of macro in this article and discusses how you can implement different techniques to allow for good lighting.
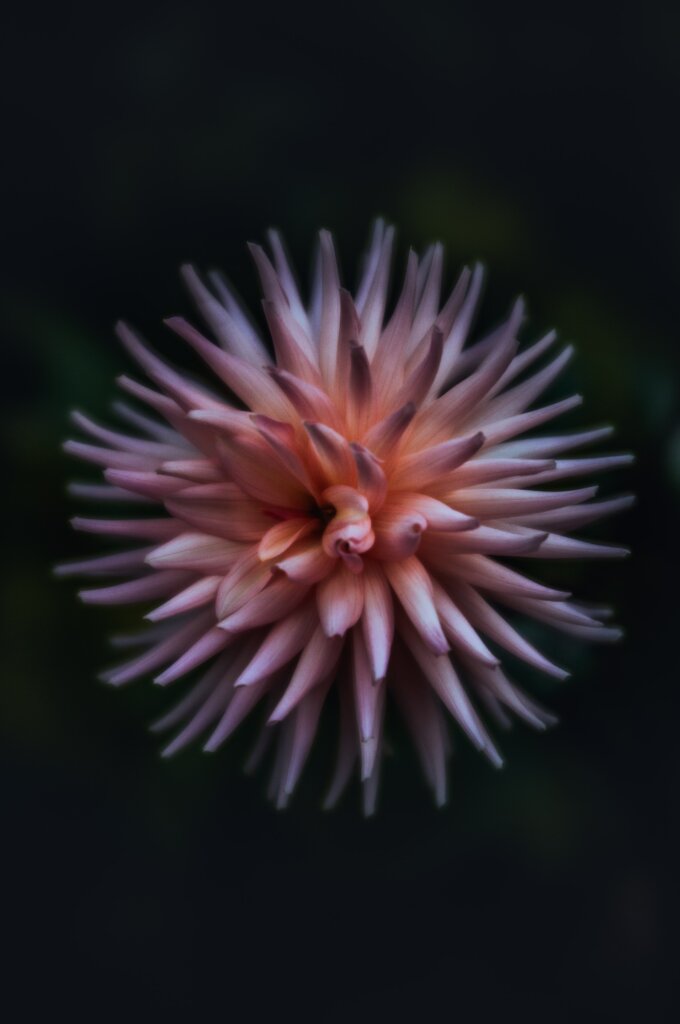
Composition For Macro
Depth of Field: One of the biggest challenges in macro photography is achieving a sufficient depth of field. When you’re shooting up close, your depth of field becomes extremely shallow. To counter this, use a smaller aperture (higher f-number, e.g., f/16 or f/22) to increase the area of sharpness in your image. If you’d like to learn more about this composition rule, check out this article by Michael Gabriel, who shares his tips and guidance on both depth of field and focus.
Composition: Apply the fundamental principles of composition, such as the Rule of Thirds, leading lines, and framing, to your macro shots. Experiment with different angles and perspectives to create visually engaging images.
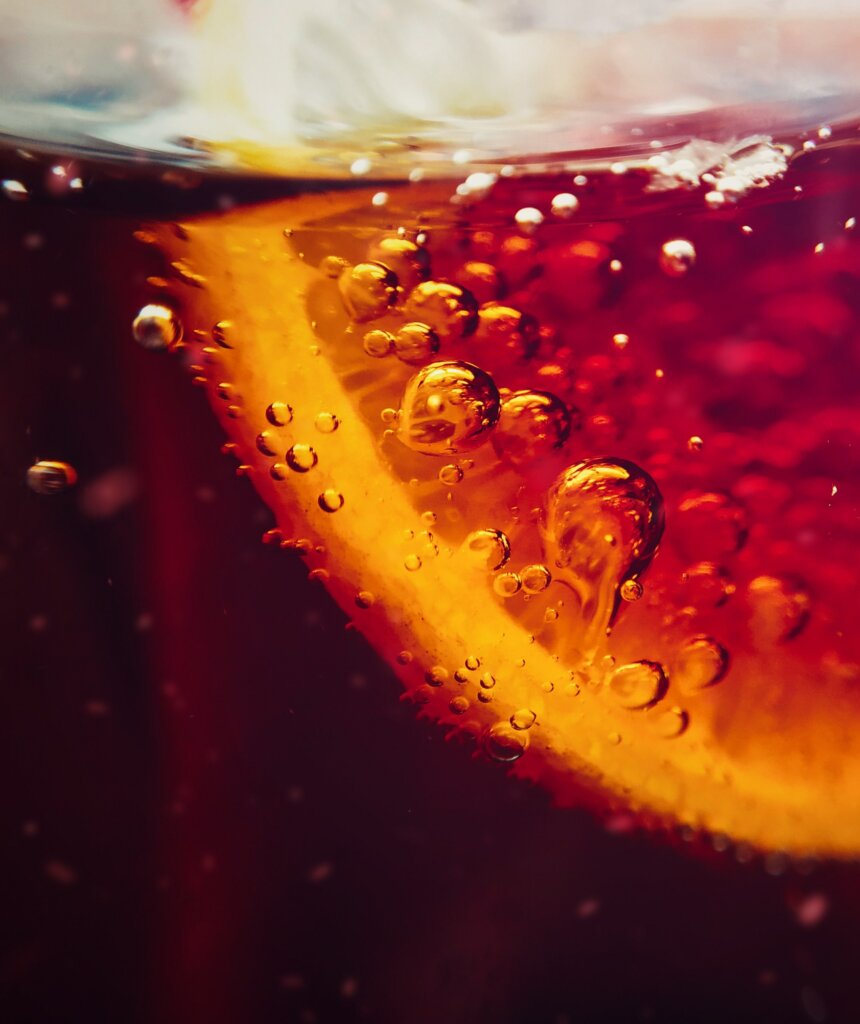
How Lighting Can Help You
Use Your Flash: Macro photography often benefits from the use of an external flash. A dedicated macro flash or a ring flash can provide even, shadow-free lighting. Experiment with different flash angles and diffusers to control the light and avoid overexposure. For more guidance on flash photography, read this piece by photographer Jason D. Little who discusses harnessing flash when exploring the macro world.
Post-Processing and Editing: Post-processing is the final step in bringing out the best in your macro photos. Use software like Adobe Lightroom or Photoshop to adjust exposure, color balance, and sharpness. Remember that less is often more, so avoid excessive editing that may make your images look unnatural.
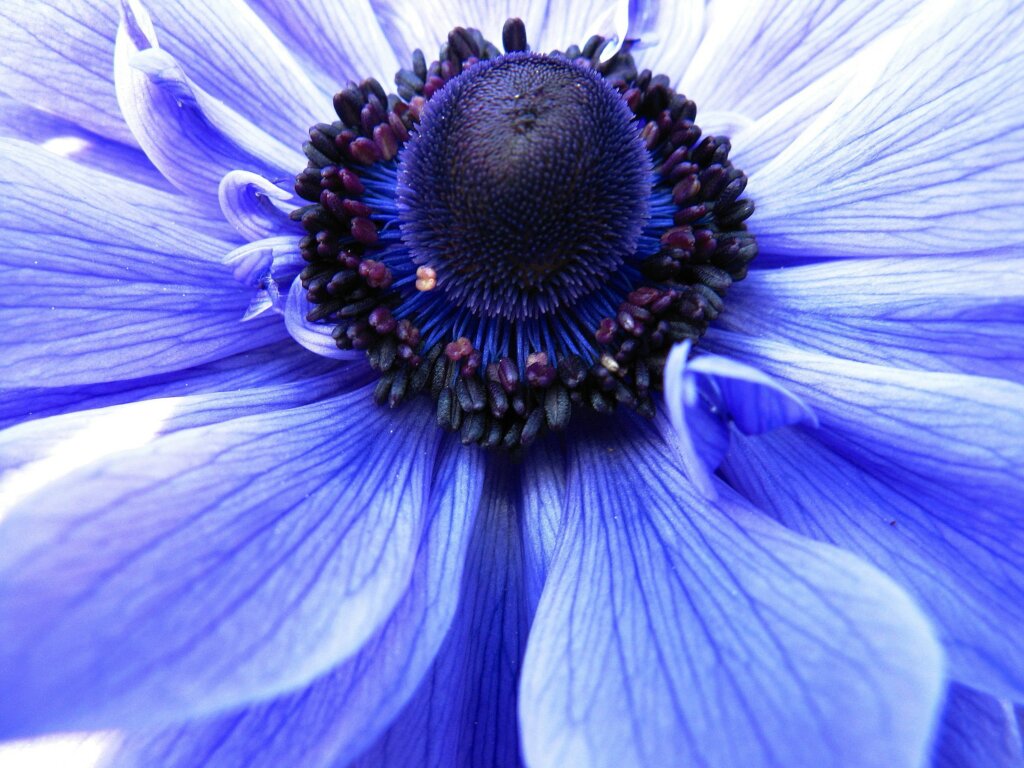
Conclusion
Macro photography is a captivating and accessible genre that allows you to explore the tiny wonders of the world. Armed with the right equipment and techniques, you can create stunning images that reveal the beauty in the details around you. Remember, practice makes perfect, so don’t hesitate to experiment and refine your skills. Happy shooting!

